Ensuring Safe Braking: A Guide to Brake Preventive Maintenance
A Guide to Brake
A Guide to Brake
How to Identify Common
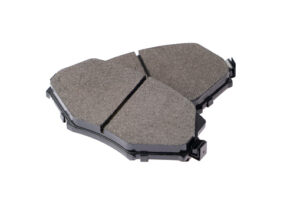
Brake Pad Materials Explained
But’s it’s actually easy to very confidently replace pads with a few simple instructions. Brakes are designed in a way that makes it hard to do the job incorrectly. You can definitely do this at home as long as you do it right. This guide has all the information you need in one place.
Even if you find worn brake pads only on one side of the vehicle during the diagnostic process, you still need to change the brake pads on the other side, too. It’s because doing so will ensure even braking performance, which is very important for your safety.
Here’s how to replace the brake pads on your truck:
Park your truck on a flat surface. You can use a floor jack and stands, or a car lift that lifts by the chassis. If you only lift one end of the car, block the wheels on the other end.
Remove the lug nuts (either by hand or with an impact wrench) and then pull the wheel off the truck.
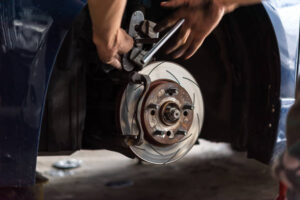
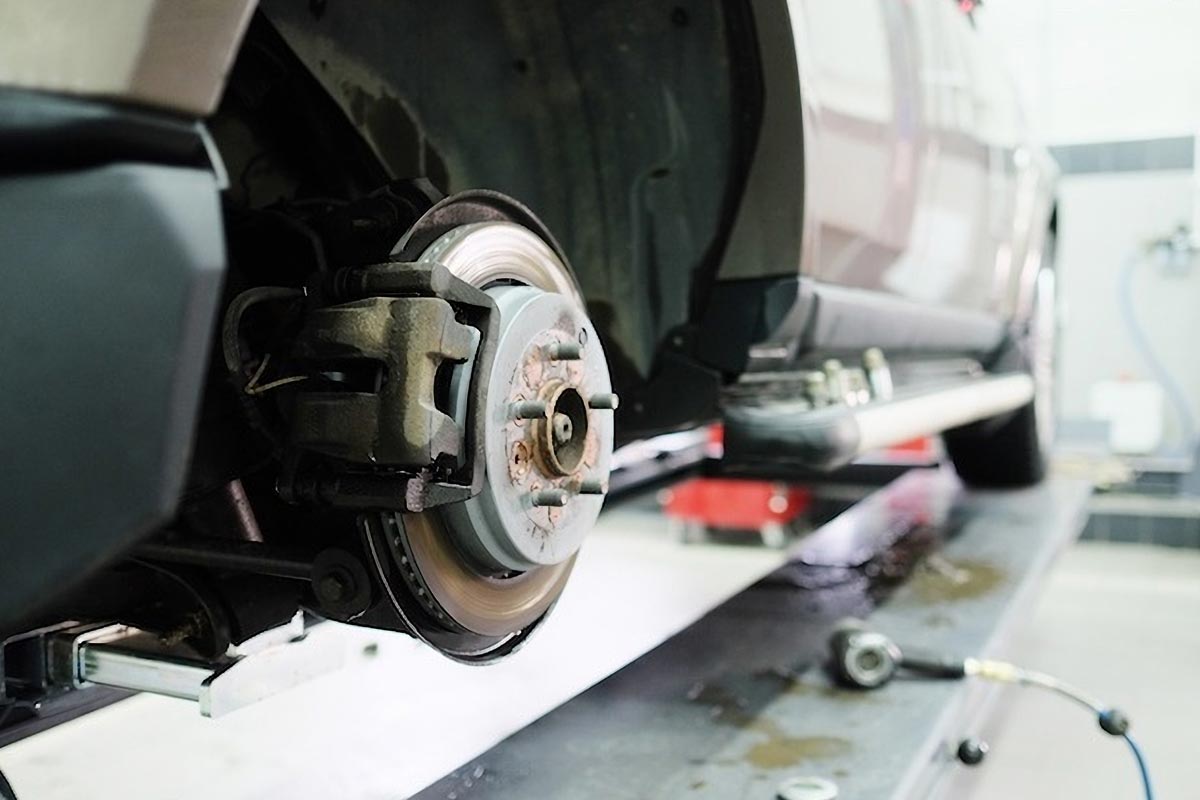
Once the rotors are in front of you, visually inspect them to see if they’re still in good shape. Here’s a good rotor inspection guide. If there’s some normal wear, it is still a good idea to have the rotors turned to improve its braking performance. Turning the rotors isn’t mandatory, but it will result in quieter braking with a “like new” feel. If you find some deep grooves, burn marks, cracking, or any signs of uneven wear, then the rotor is bad and it needs to be replaced. It’s smart to replace the rotors as soon as possible.
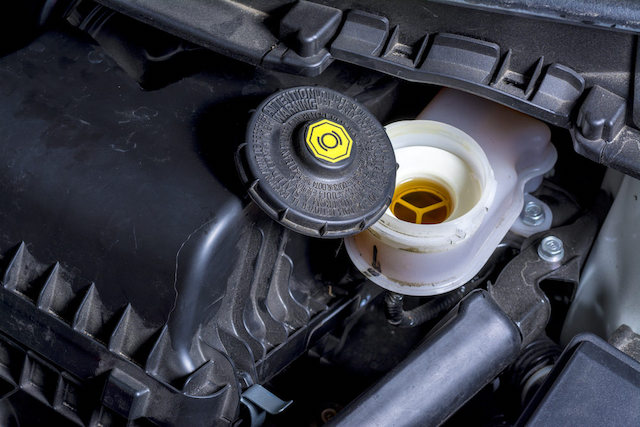
When you compress the caliper piston, the brake fluid might overflow if the brake fluid reservoir is full. Check the reservoir to see how much fluid is left. If the brake fluid level is high, you can use a syringe or baster to remove some. If you don’t have either tool, you can simply dip in a clean paper towel or rag to soak up some of the fluid.
This process varies between vehicles, but the general idea is to push the piston back into the caliper. You can do this by using a brake piston compressor, a large C-clamp, or a flat blade screwdriver. If you use a screwdriver to pry, place it between the worn pad and the rotor. If you insert it gently, you won’t damage the rotor. It’s important not to damage the piston seal, so don’t pry between the pad backing plate and the piston.
If you’re having a hard time compressing the pistons, here’s a trick: find the brake bleeder screw on the back of the caliper and then loosen it just enough to get it to leak a little. Be sure to close the bleeder screw when the piston is compressed.
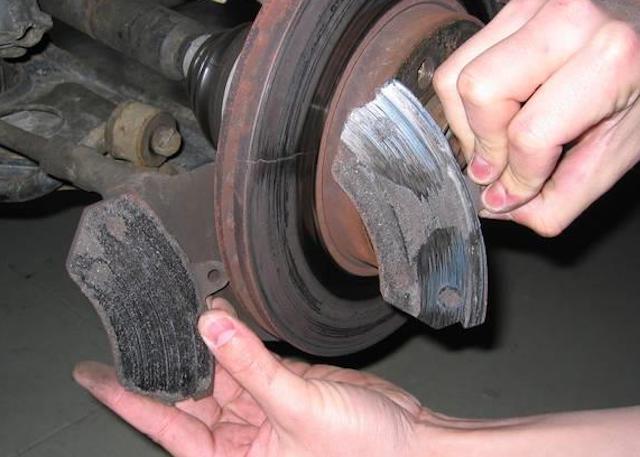
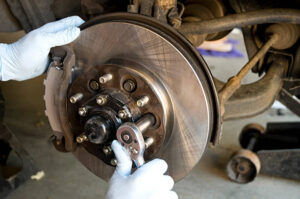
Pull the caliper off the rotor and then take the old brake pads out. On some vehicles, like the Tacoma, you just have to remove the guide pins to slide the pads out.
You can use a small wire brush to clean the guide pins. If the pins are heavily corroded, replace them. It’s important that the caliper be able to easily slide on the pins. When you’re done, rinse the area with brake cleaner.

To do this:
Apply a light coating of high temperature brake grease to the caliper guide pins. Doing this will help your brakes wear evenly. Next, put the caliper guide pins back into the caliper.
If you removed brake fluid from the reservoir earlier, remember to refill it. It is important not to suck air into the brake system through the reservoir.
If you opened the bleeder screws to make compressing the caliper pistons easier, then air probably got into the brake lines. To get rid of the air in the brake lines, bleed the brakes.
Be sure to tighten each lug nut to specification in a star pattern.
Drive at a low speed and test the brakes to see if the pads are installed correctly. For optimal braking performance, you can bed in the brakes, as well.
Need further clarification about replacing the brake pads on your truck? Give us a shout here!